Bathroom Design: How to Plan Your Layout, Inclusions and Finishes
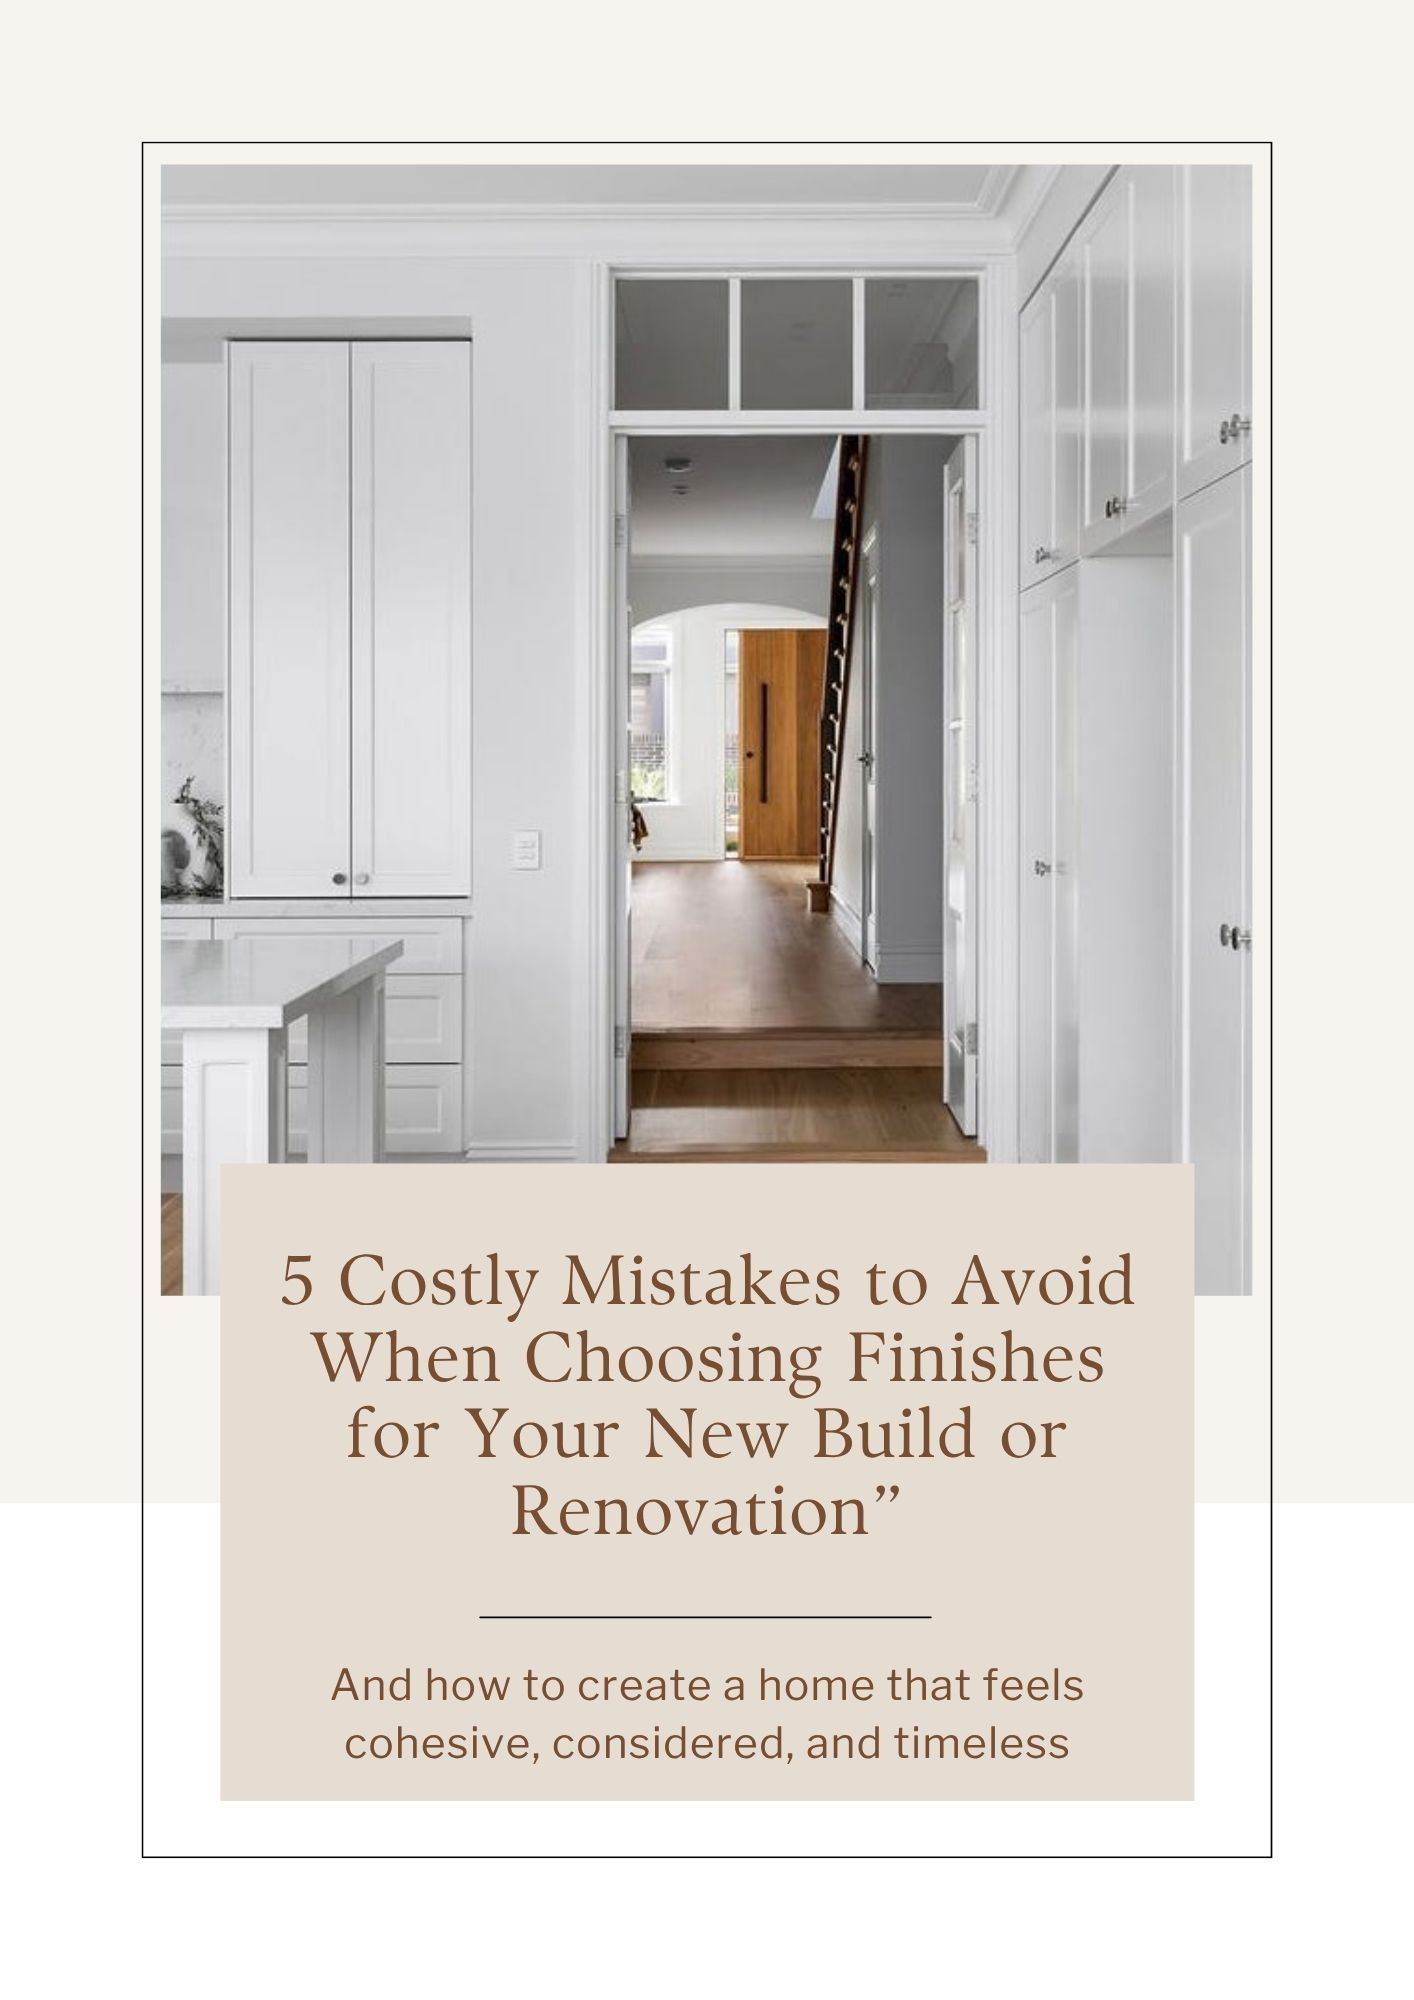
Bathrooms and kitchens add the most value to a home—and they also come with the highest renovation costs. Getting these spaces right is essential. This guide outlines how to approach bathroom design thoughtfully, maximise the space you have, and confidently select finishes and inclusions. With a clear plan and checklist, you will be well equipped to brief your builder and avoid costly mistakes.
That said, when it comes to producing final construction drawings, I always recommend engaging a specialist. Bathroom plans must be precise; inaccuracies can lead to expensive errors. This guide is designed to help you assess your needs, develop a functional layout, and make informed selections—saving time, money, and frustration while ensuring a bathroom you love and one that adds genuine value to your home.
Assessing the Space
Planning is simplest in a new build, but it relies heavily on how well you brief your architect or building designer. They are not mind readers. A clear brief ensures your designer can deliver a layout that truly works for you. I often assist clients who love their finishes but are disappointed with the layout—by then, plans are lodged with council, builders have quoted, and changes mean delays and additional costs.
Renovations bring more constraints, which often require creative thinking. Rather than simply updating an existing bathroom, consider reworking the internal layout.
-
Could you repurpose a spare bedroom or small box room adjacent to the bathroom?
-
Is there an opportunity to borrow space from a neighbouring room?
-
Would combining a small laundry and bathroom create a more functional space?
-
Could a separate toilet and bathroom be combined for better flow?
Many homes from the 1980s feature awkwardly separated toilets and bathrooms with wasted hallway space. Removing walls and reworking entry points can dramatically improve both functionality and aesthetics. While this adds cost and disruption, when bathroom renovations often exceed $15,000, it makes sense to get the layout right and protect your return on investment.
Who Will Use the Bathroom—and When?
Understanding who will use the bathroom, and whether it needs to function for multiple users at once, is critical.
-
Do two adults get ready for work at the same time?
-
Is this a family bathroom serving multiple children?
-
Would a three-way bathroom (separate toilet, vanity, and bathing zone) improve functionality?
Also consider the physical needs of users. Taller individuals may require a larger bath (around 1.8m), while a compact bath (around 1.6m) may suffice for resale purposes. Shower heads, rails, and vanity heights should be selected with user height and comfort in mind.
Bathroom Layout: Key Planning Principles
Once you understand your space and usage, layout becomes the priority. Selections follow layout—not the other way around.
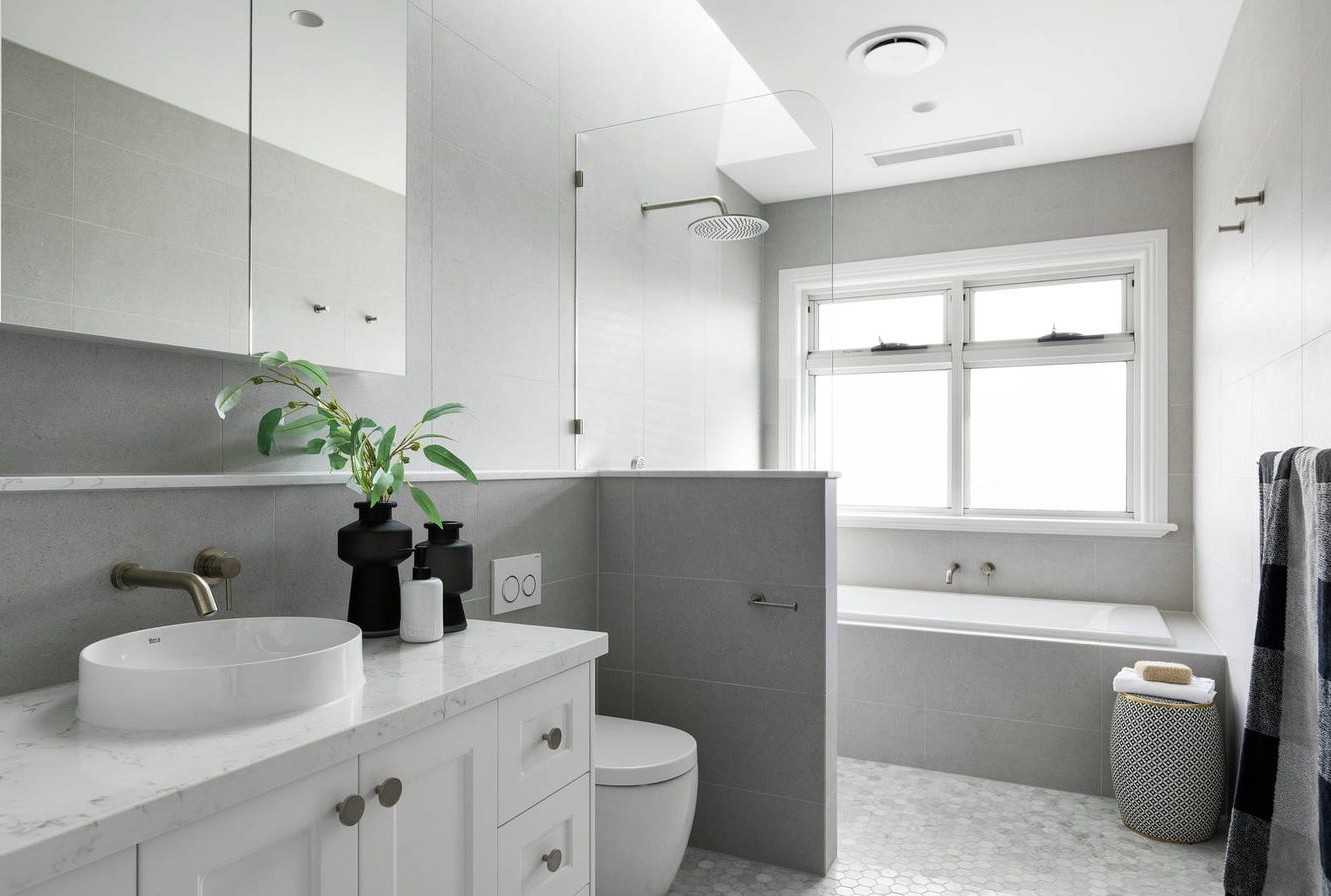
The Toilet Suite
-
Avoid positioning the toilet directly in view when opening the bathroom door.
-
Where visibility is unavoidable, consider a half wall for privacy.
-
Allow generous clearance: most toilets are 400–500mm wide, with ideally 250mm clearance on each side.
-
In-wall cisterns and wall-hung toilets create a clean, space-saving look but require sufficient wall cavity access and a higher budget.
-
Always account for door swing—poor planning can result in doors that won’t open fully.
-
In renovations, confirm the toilet set-out with a plumber before purchasing fixtures.
The Bathroom Door
When wall space is limited, a cavity sliding door can be an effective solution, freeing up valuable wall real estate for vanities, showers, and towel rails. Ensure the wall is clear of services before committing.
If using a hinged door, plan carefully for swing clearance and install a floor stop if it opens near fixtures.
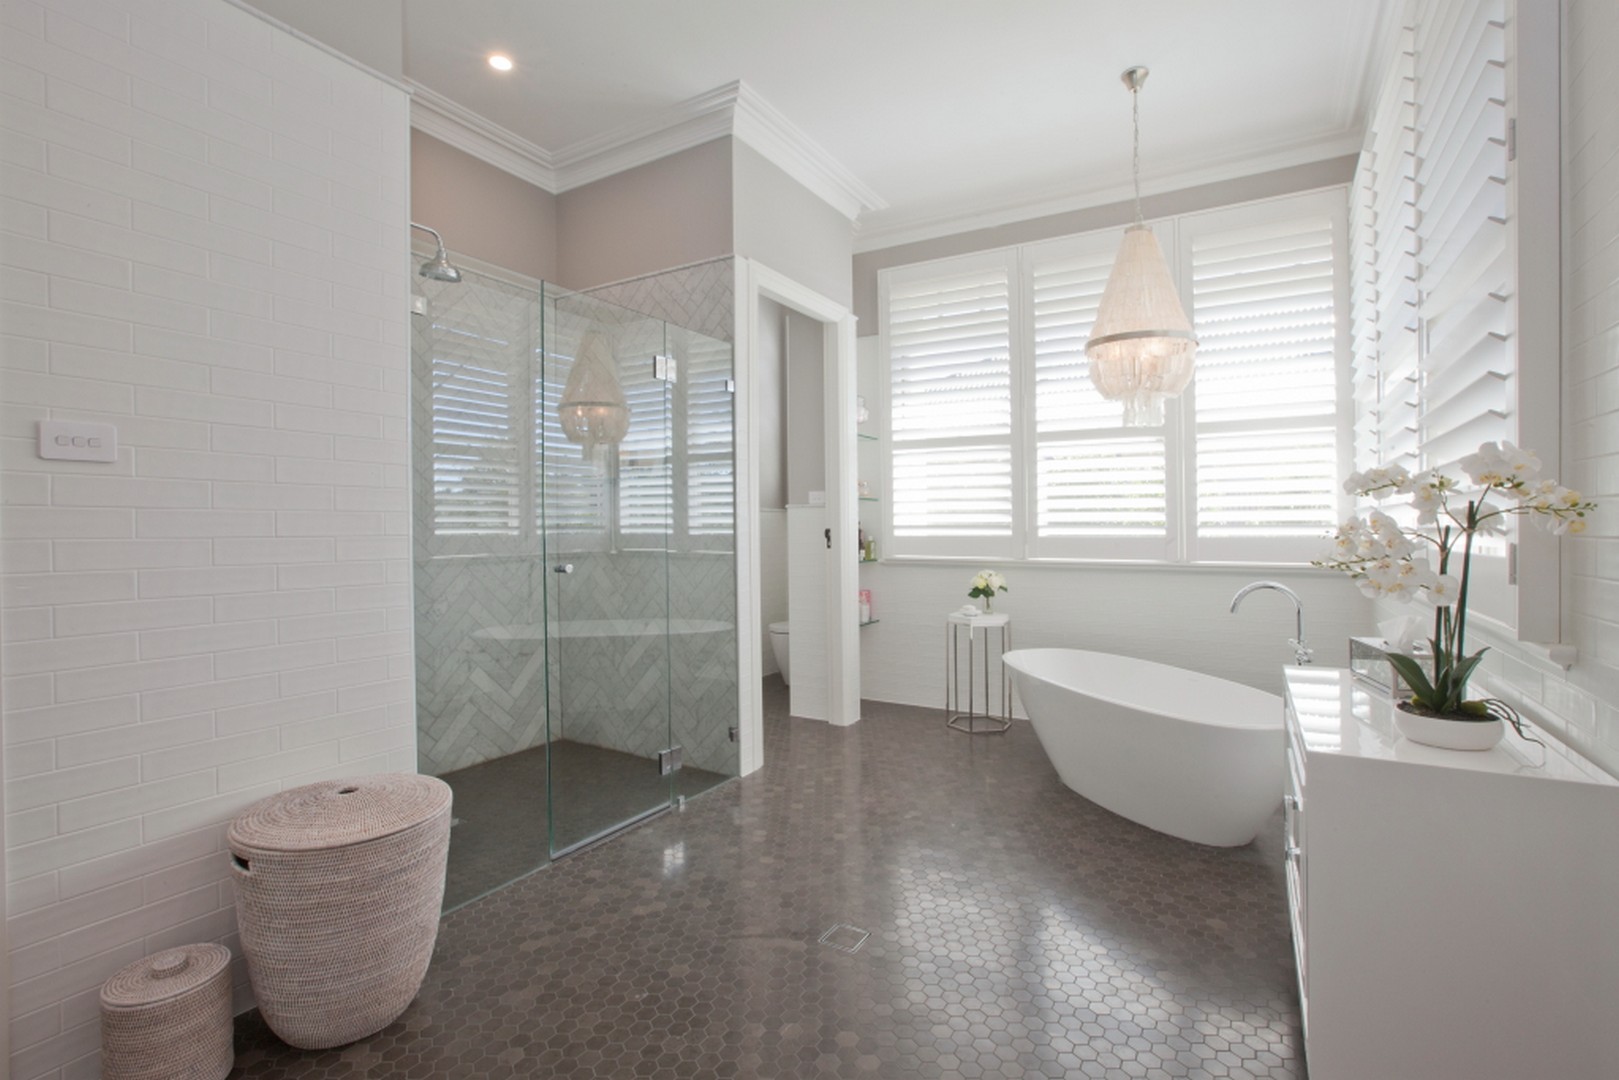
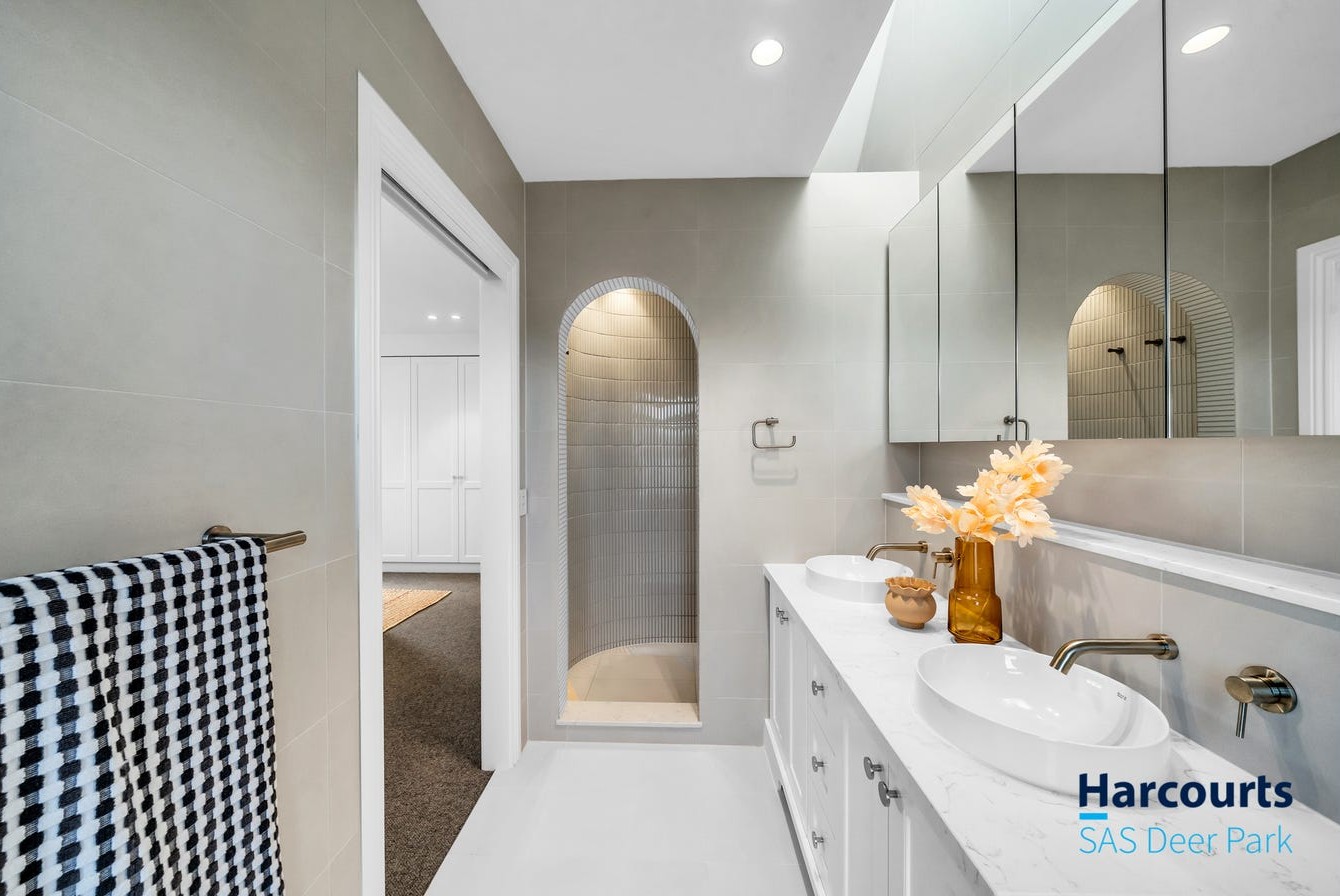
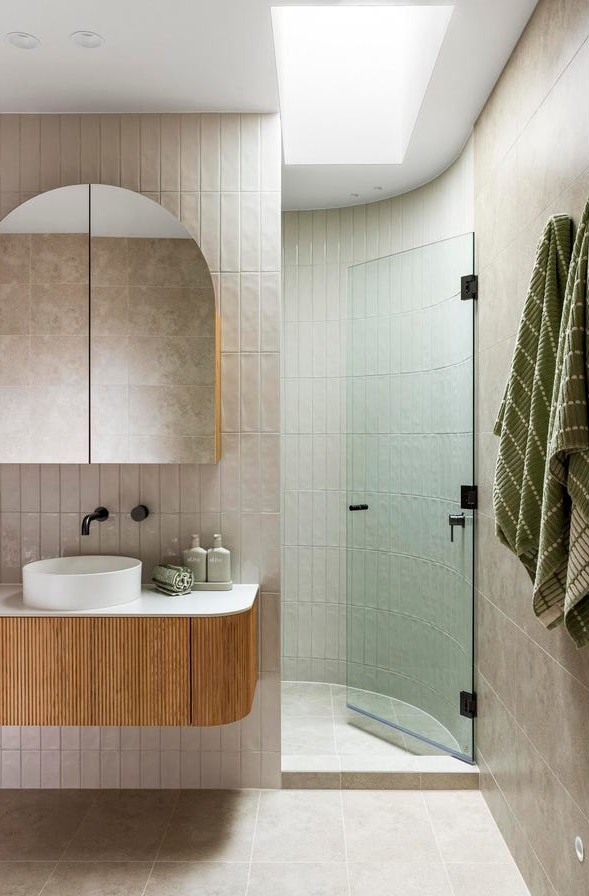
The Shower
Where possible, design the shower as a self-contained zone at the end or corner of the room. This often reduces the need for extensive shower screens and allows you to limit tiling to wet areas—one of the biggest cost savings in a bathroom renovation.
-
Minimum size: 900 x 900mm
-
Preferred size: 1000 x 1200mm
-
Plan door placement carefully, particularly in double showers.
-
Install a shower on a rail for flexibility and cleaning.
-
Position mixers on the long wall so water can be turned on without stepping into the shower.
-
Niches must be planned early and tiled to blend with wall tiles.
-
Consider linear drains along walls to reduce water spread and minimise glass.
Semi-frameless shower screens often strike the best balance between aesthetics and cost.
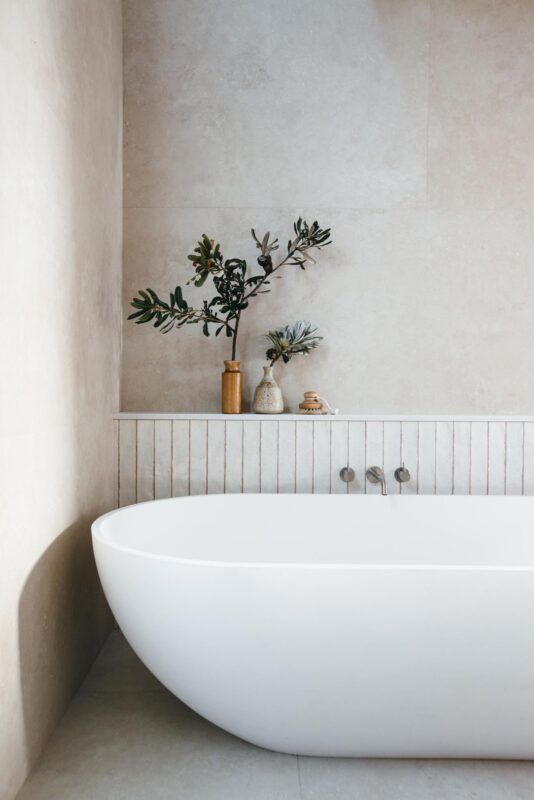
The Bath
Freestanding baths are visually striking but not always practical. Consider how the bath will be used before committing.
-
Built-in baths are often more functional for families.
-
Freestanding baths allow for reduced wall tiling and greater layout flexibility.
-
Tapware location must be planned early—retrofitting is costly.
-
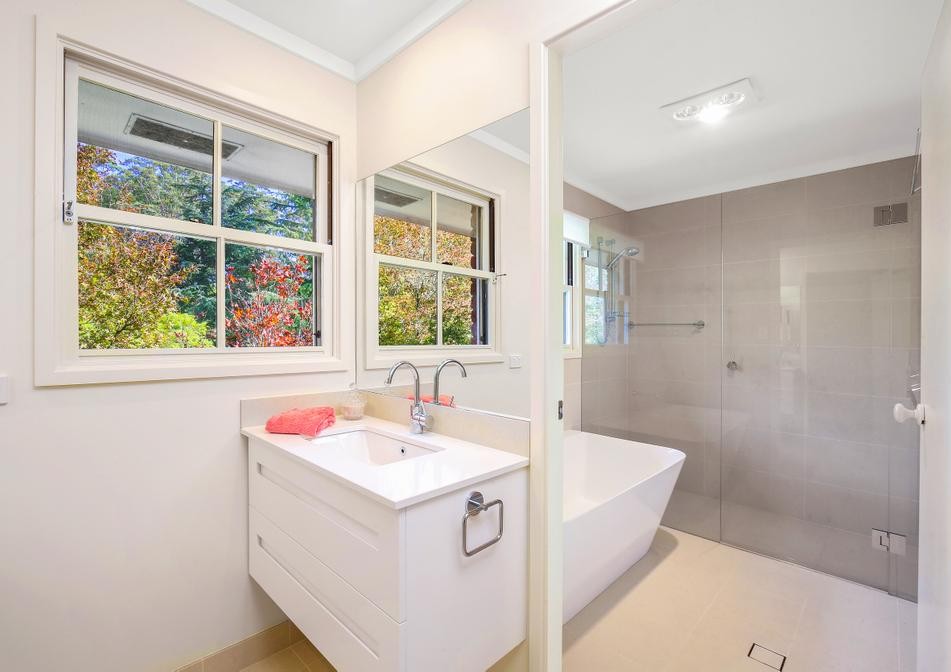
Baths placed under windows often represent the best use of space.
-
Avoid placing showers or vanities under windows where mirrors or waterproofing become problematic.
-
Allow at least 200mm clearance around freestanding baths for cleaning.
Semi-freestanding baths can provide a good compromise between style and practicality.
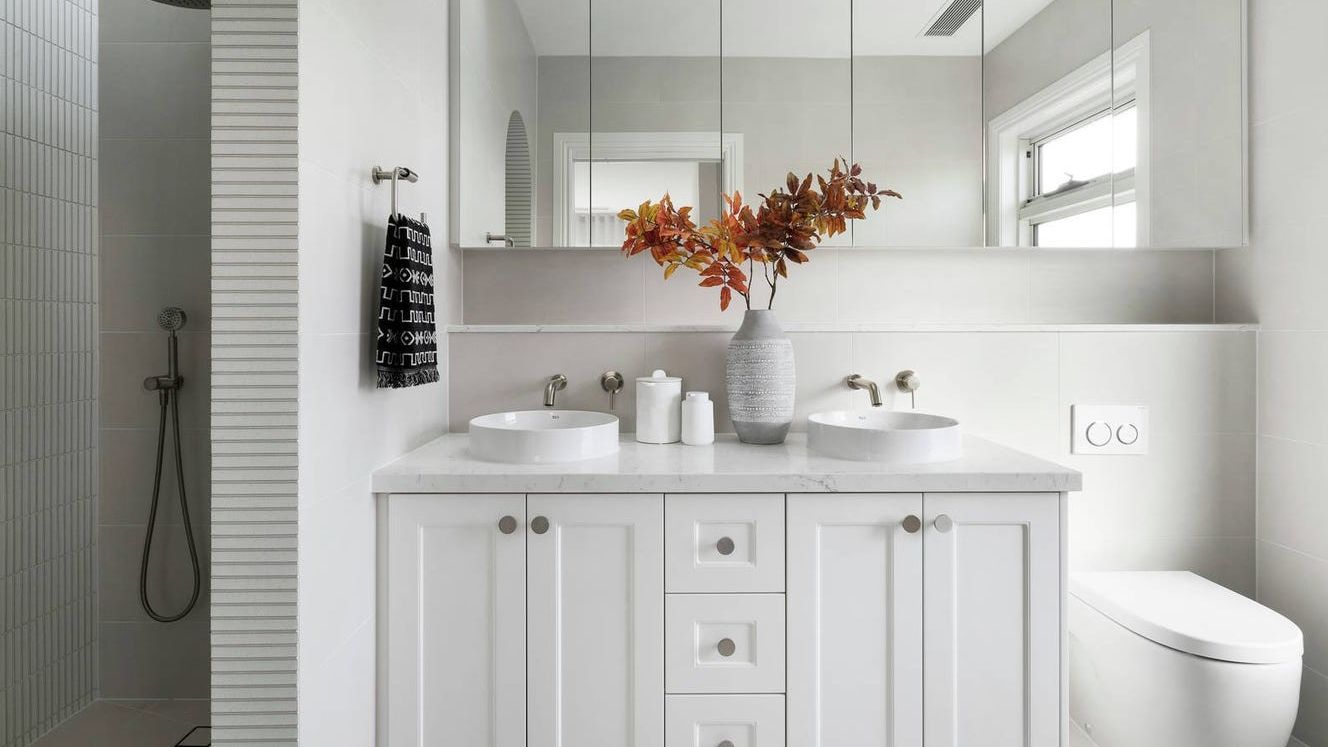
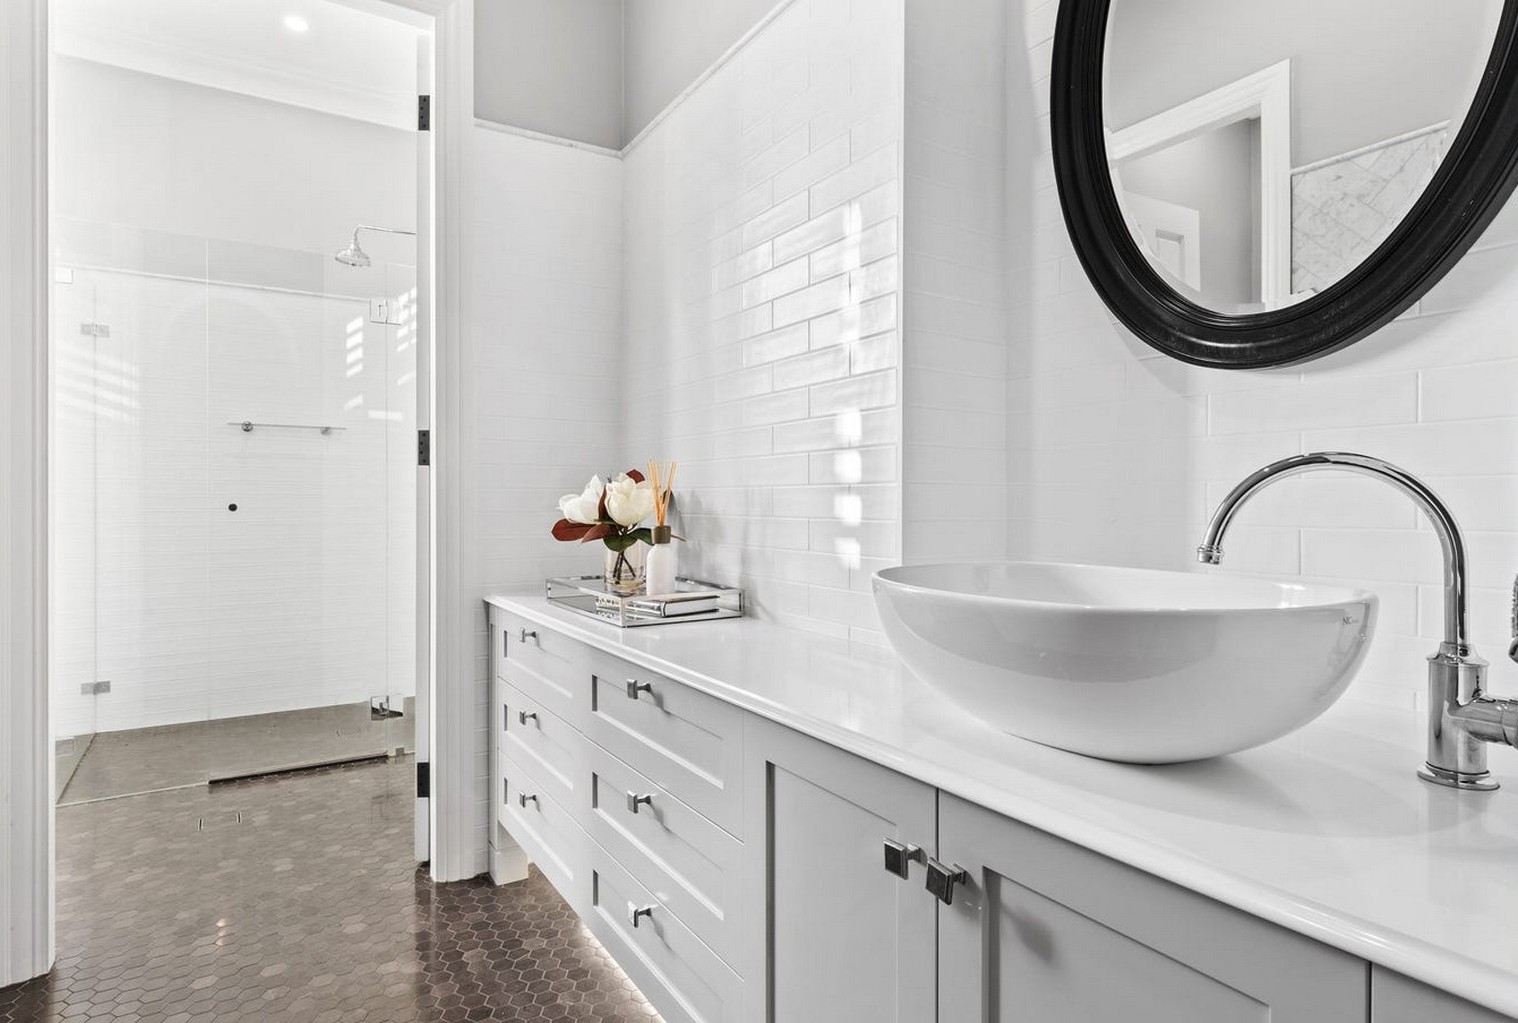
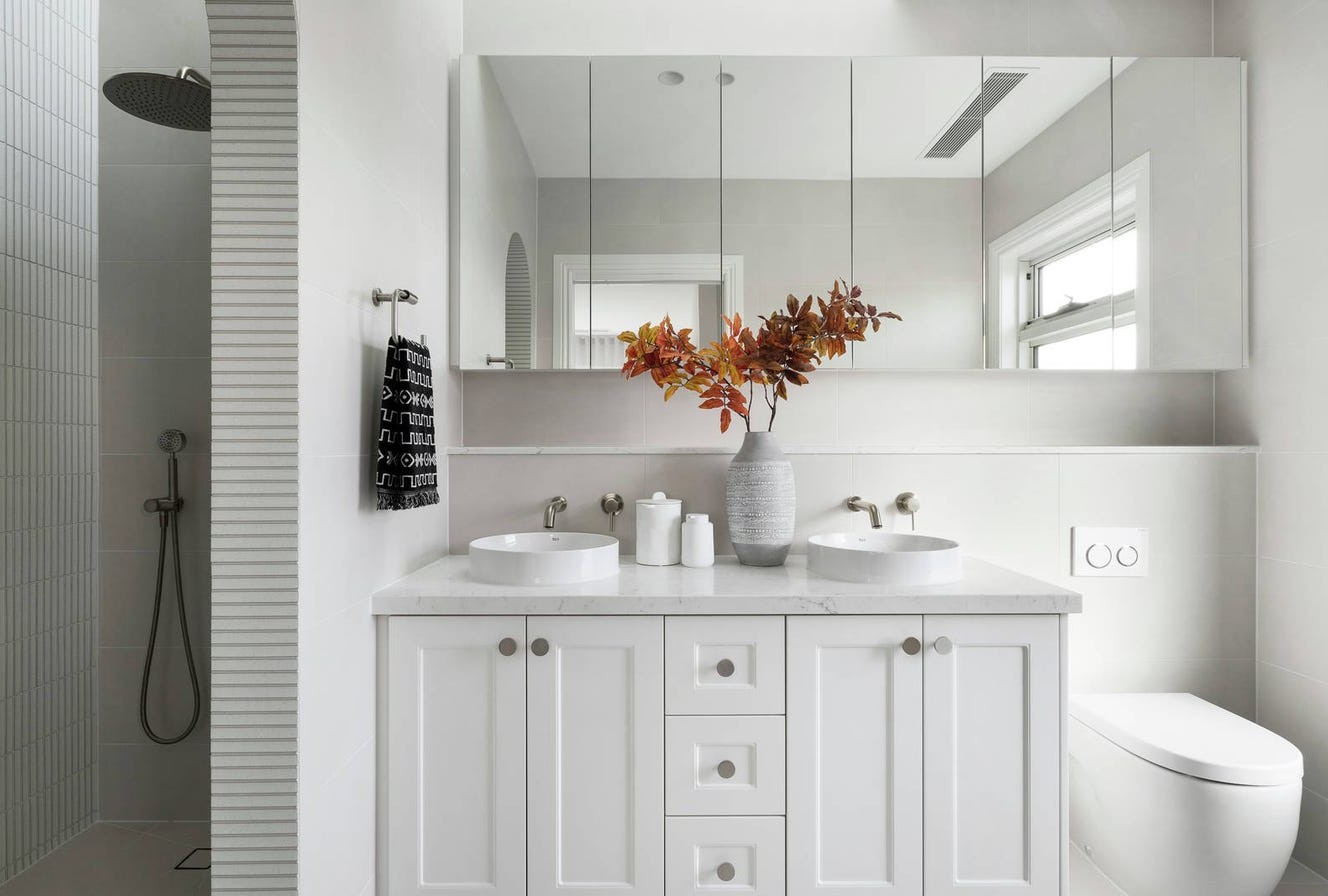
The Vanity Unit
The vanity is the focal point of the bathroom, anchoring mirrors, lighting, and storage.
-
Decide early whether you need one basin or two. Double basins should only be used on vanities 1800mm or wider.
-
Basin placement directly affects plumbing and drawer configuration—drawings must be accurate.
-
Consider basin style (undermount, above-counter, semi-recessed) and how this affects tapware and mirrors.
-
Confirm plumbing routes with your plumber before selecting wall-hung or floor-mounted units.
Wall-hung vanities create a sense of space but require skilled installation. Floor-mounted or furniture-style vanities offer character and practicality. Drawers maximise usable storage and visibility, and integrated bins or shelving add convenience.
Benchtop selection should balance beauty with durability. Reconstituted stone offers excellent performance, while timber and natural stone require greater care. High-quality laminates are a practical and increasingly attractive alternative.
Lighting
Lighting can make or break a bathroom.
-
Combine downlights with wall lights at head height beside mirrors.
-
Ensure all fittings are suitable for wet areas.
-
Never compromise on safety—always seek advice from a qualified electrician.
Tapware and Accessories
Tapware should be consistent throughout the bathroom in both style and function.
-
Match mixers with mixers, wall taps with wall taps.
-
Ensure spout length suits basin size and prevents splashing.
-
Plan for accessories early: towel rails, heated rails, toilet roll holders, shelving, shaving cabinets, stools, or freestanding storage.
Finalising the Layout
Once all elements are considered, refine your layout. Visualise movement through the space and prioritise ease of cleaning. Avoid tight clearances that make maintenance difficult, and ensure towel rails and storage are conveniently located.
Selecting PC Items and Tapware
With a confirmed layout, you can begin selecting fixtures. Create a wish list and cross-check dimensions carefully. Adjust the layout if needed before committing to purchases.
Use a checklist to ensure nothing is overlooked.

Buy the interior checklist here.
Tile Selection
Tile selection is often the most overwhelming part of bathroom design.
Begin with a mood board to define your desired aesthetic. Once you are clear on the look, showroom decisions become far easier.
Start with floor tiles, considering size, slip rating, and council requirements. Smaller tiles or mosaics are often better suited to small bathrooms.
Decide where wall tiles are necessary. Full-height tiling is not always required—classic schemes often call for less tiling, particularly with freestanding baths and contained shower zones.
Wall panelling or painted finishes can work well outside wet areas when appropriate materials are used.
Key tile considerations include:
-
Size and orientation
-
Layout pattern
-
Ceramic vs porcelain
-
Tile and grout colour
-
Finish (matt, satin, gloss)
-
Safety for floors
-
Edge detailing (mitred edges vs trims)
A well-considered tile scheme can visually expand or soften a space and elevate the entire bathroom design.
If you are building a new home or renovating the one that you have, you should purchase my checklists. You will find all the elements of a new build or exterior and interior renovation that you need to consider, with plenty of space to write down supplier and product details for reference. Gain control and satisfaction when you can check each one off the list.
I also have an online colour consultation service. From just a quick 30 minute zoom session to address one or two key elements through to a full done for you solution for your entire home.
I have lots more to tell you about bathrooms here.
Stay connected with news and updates!
Join our mailing list to receive the latest news and updates from our team.
Don't worry, your information will not be shared.
We hate SPAM. We will never sell your information, for any reason.